Modern Controllers: 6 Ways to Boost Manufacturing Speed and Precision
Modern manufacturing depends on intelligent automation to meet rising demands for speed, consistency, and cost-efficiency….
No products in the basket.
Your blog category
Modern manufacturing depends on intelligent automation to meet rising demands for speed, consistency, and cost-efficiency….
Industrial environments today demand systems that are reliable, scalable, and able to adapt to fast-changing…
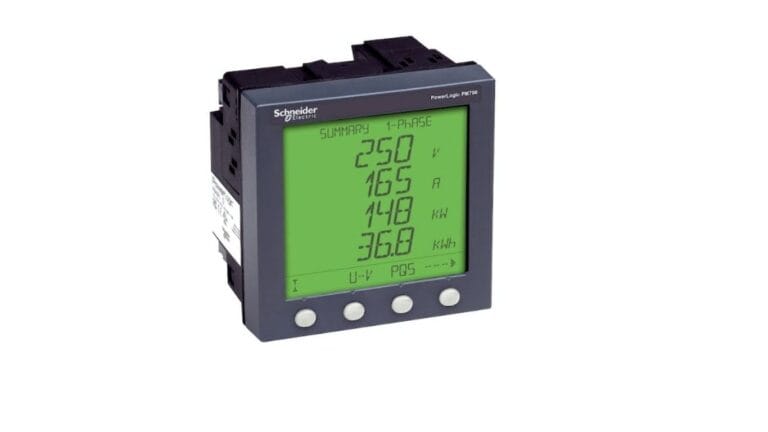
In industrial automation and electrical measurement, professionals often struggle to interpret data and keep devices…
When planning an industrial automation project, it’s tempting to focus only on the high-level concept…

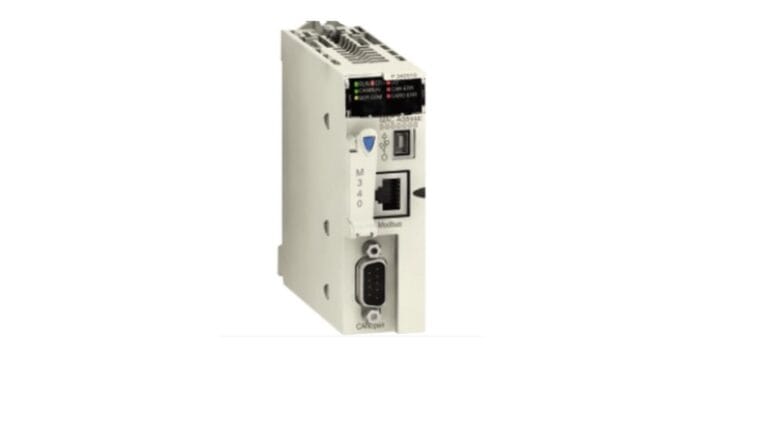
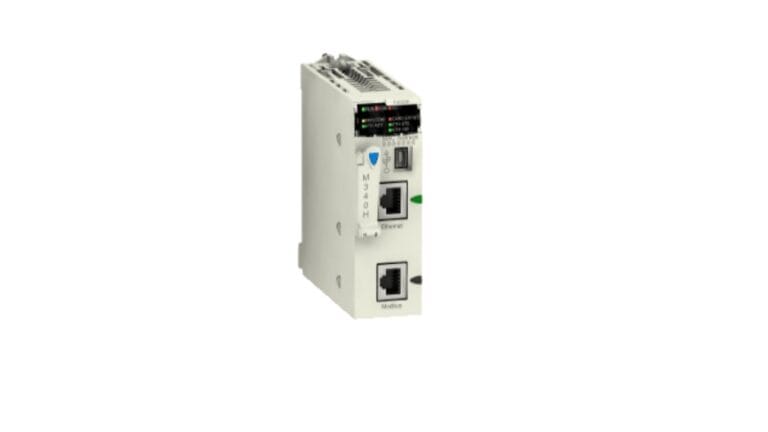
Modern industrial systems rely on powerful automation hardware and communication modules to run complex processes…
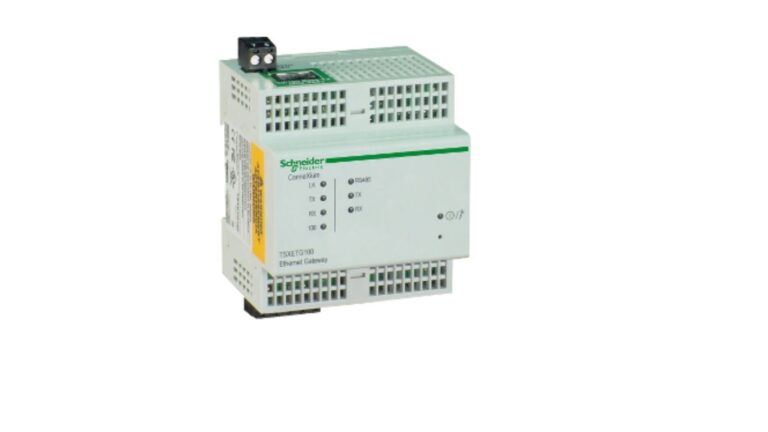
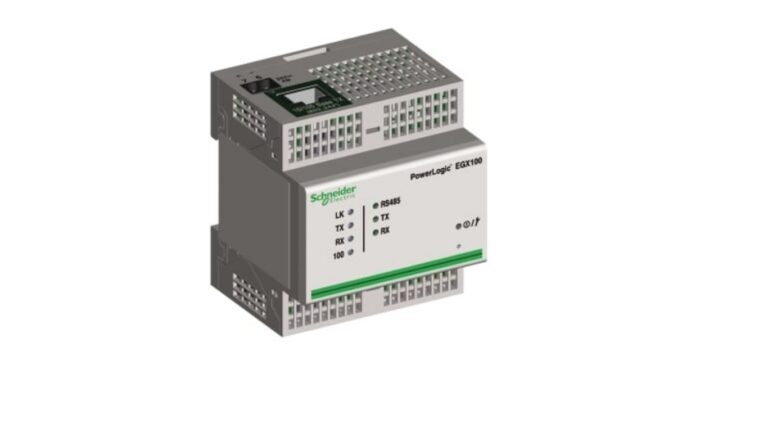
Modern industrial environments demand seamless communication between controllers, devices, and monitoring systems to maintain productivity….
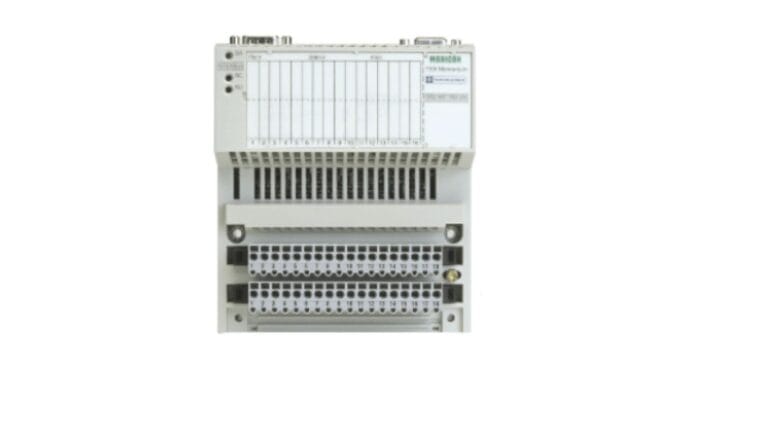
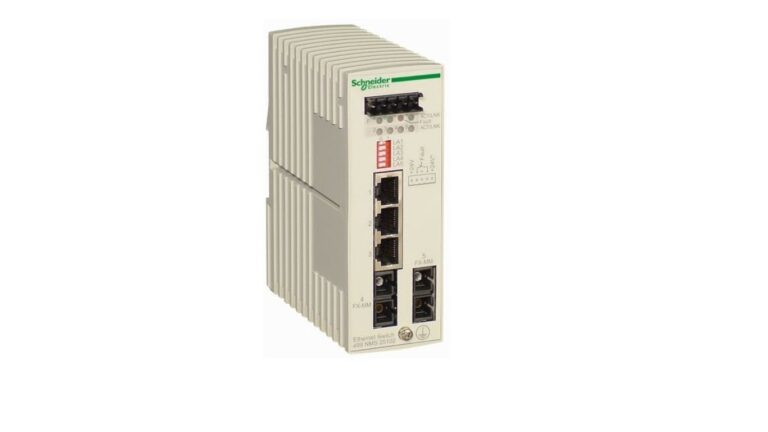
Industrial interface hardware is essential for reliable communication between machines, controllers, monitoring systems, and industrial…
The rapid evolution of industrial automation demands intelligent frameworks that unify diverse control components. Technologies…
Modern automated production relies on interconnected machines, sensors, controllers, and monitoring interfaces continuously exchanging data…
Industrial networking has become the backbone of modern automation, manufacturing, energy management, and infrastructure. As…